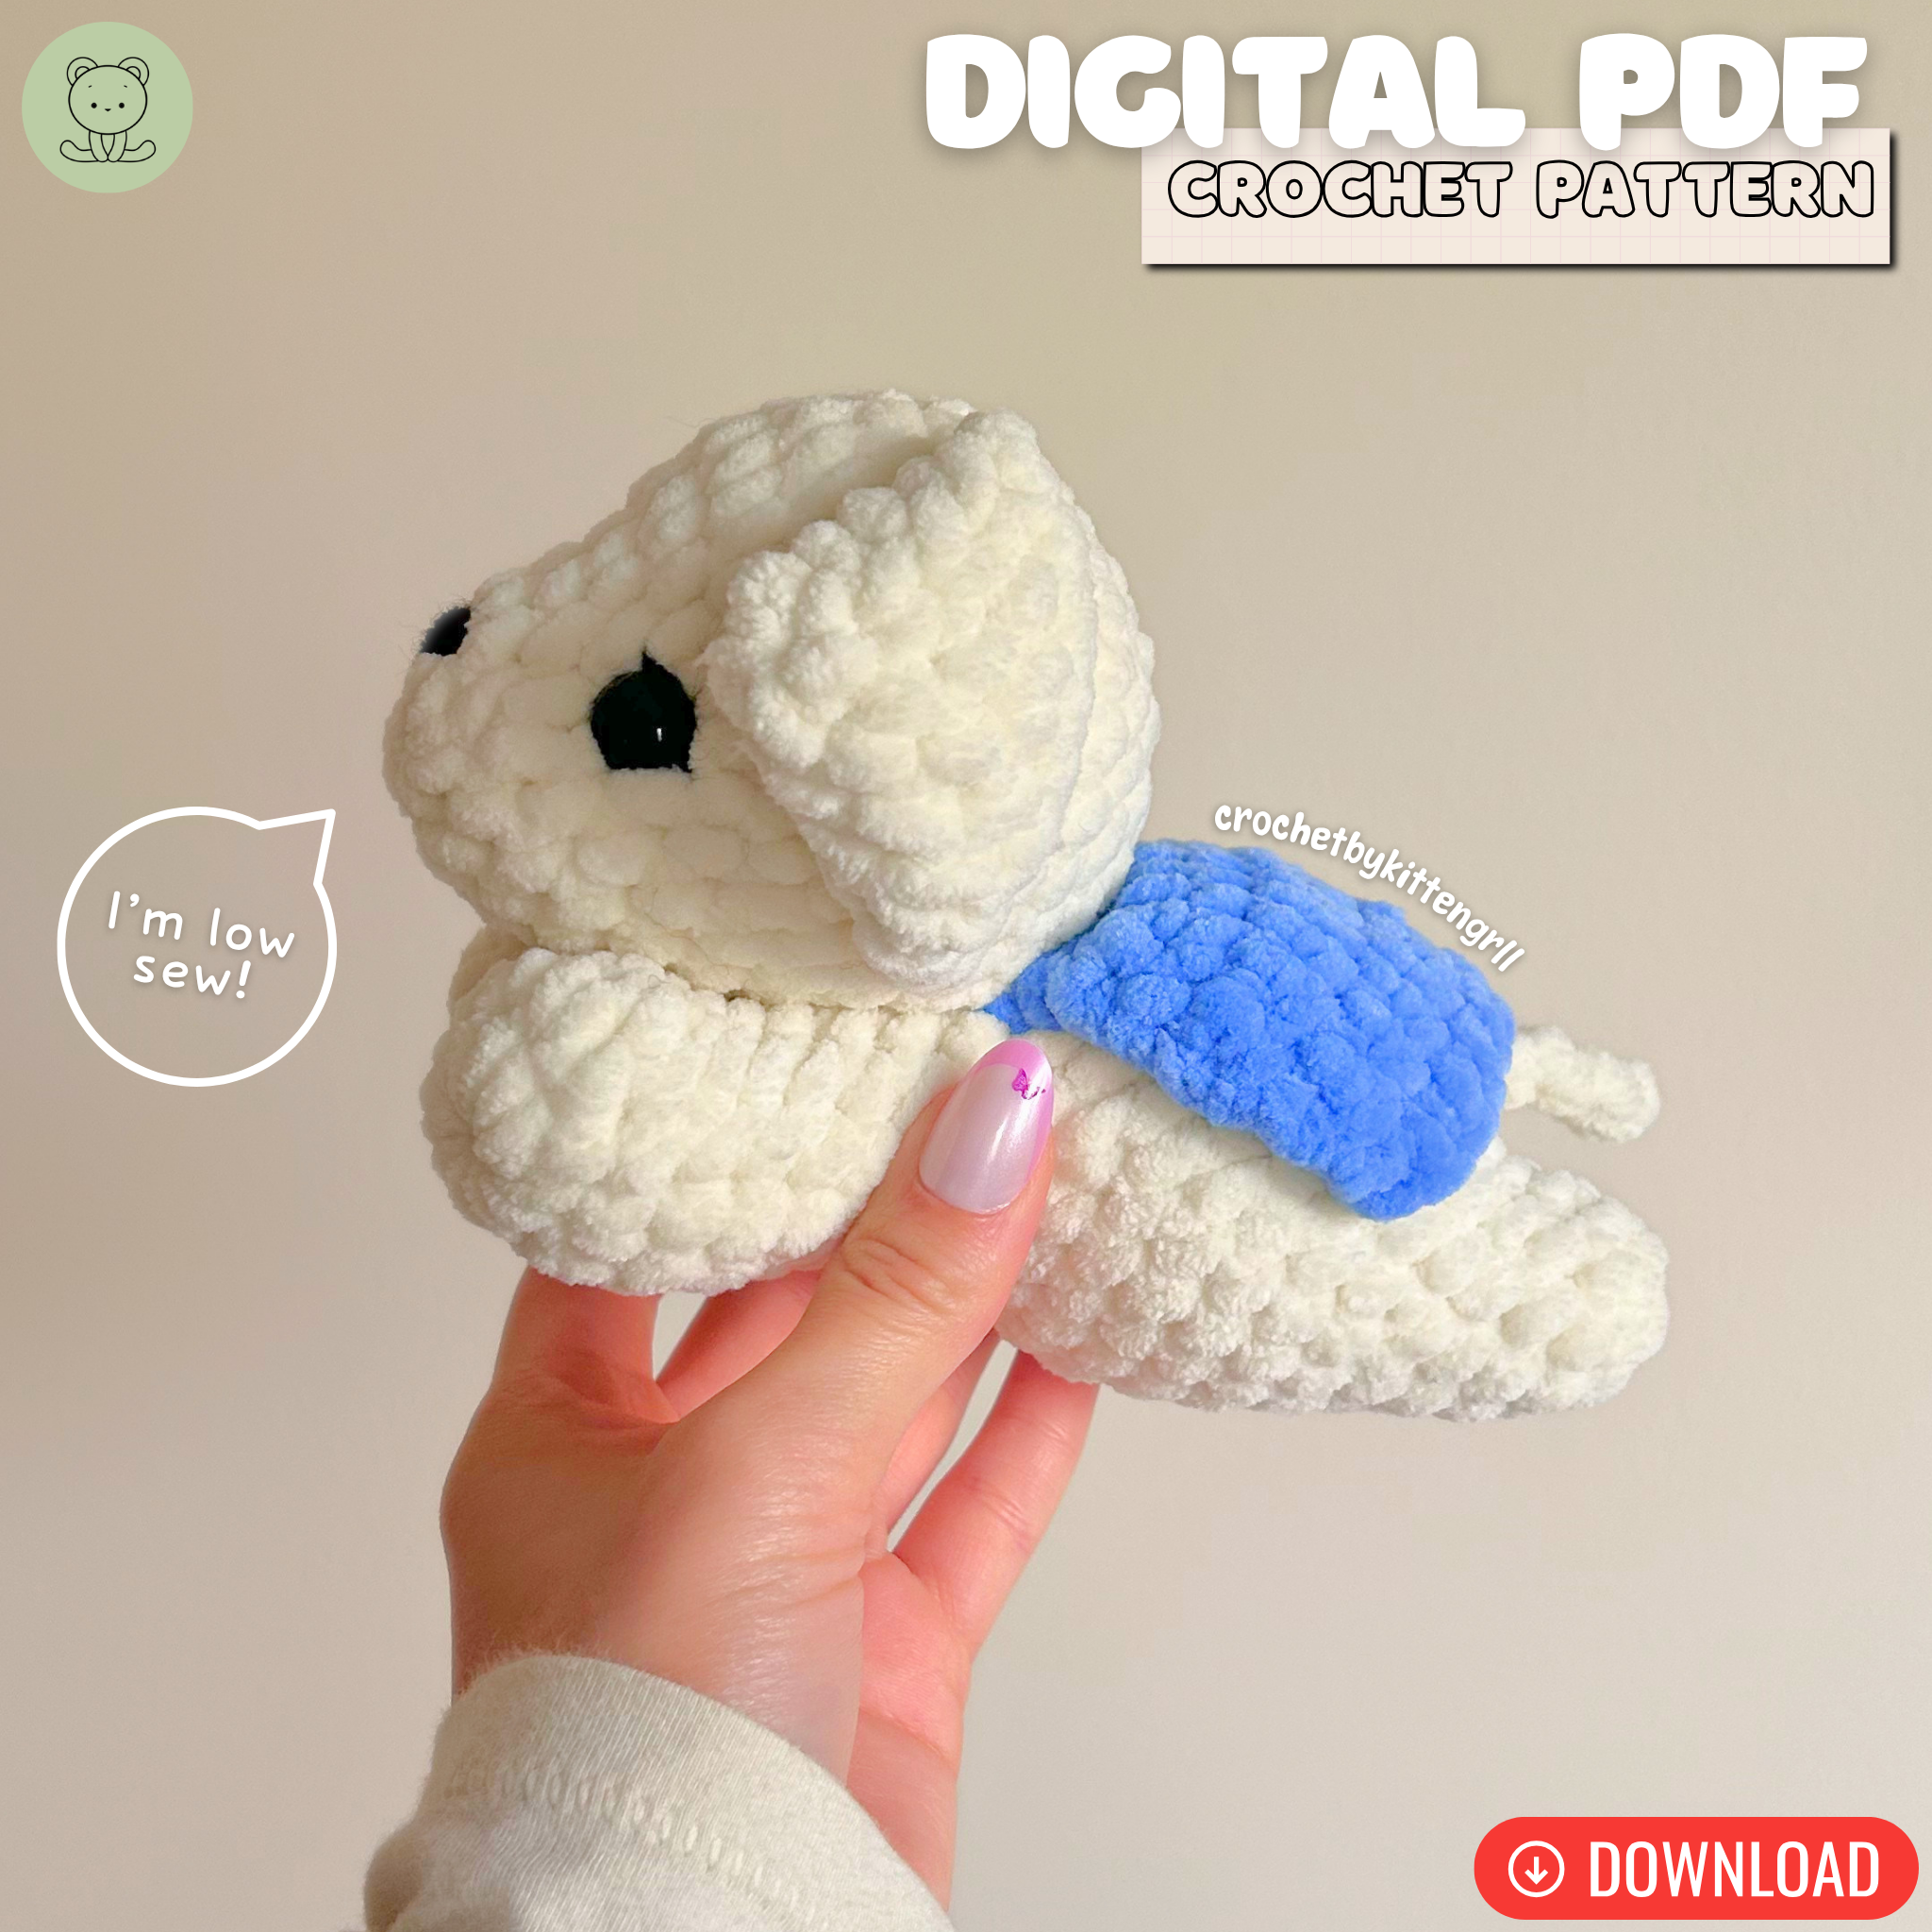
Pochacco Crochet Pattern

IMPORTANT
This pattern is property of @crochetbykittengrll. You may not alter, copy, sell, or redistribute this pattern or any part of it.
If you decide to post any photos of your creations made with this pattern, I would love for you to tag me (@crochetbykittengrll on TikTok/Instagram/Pinterest/YouTube) so I can see and share!
Notes
This pattern is in US terminology only.
I use the yarn under/yarn over method, but you may use whichever method you prefer.
All decreases in this pattern use the invisible decrease method because the regular decrease may leave larger gaps in your work. I highly recommend using the invisible decrease method.
Materials
Yarn
Color A: Sweet Snuggles Lite (Super Bulky 6) in color ‘White’< 1 skein
Color B: Chenille Home Slim (Super Bulky 6) in color ‘Black’ < 1 skein
Color C: Chenille Home Slim (Super Bulky 6) in color ‘Rhubarb’ < 1 skein
Color D: Sweet Snuggles Lite (Super Bulky 6) in color ‘Bare Pink’ < 1 skein
Any worsted weight yarn (Medium 4) in ‘Black’ < 1 skein
Weaving/Yarn Needle
5.5mm Crochet Hook
14mm safety eyes
Scissors
Stitch Marker
Polyester Stuffing
Abbreviations
ch = chain
mr = magic ring
sc = single crochet
inc = single crochet increase
dec = invisible decrease
rnd = round
slst = slip stitch
st(s) = stitch(es)
FLO = front loop only
BLO = back loop only
FO = fasten off
Arms
Start with Color A and crochet in continuous rounds. Make 2.
Round 1: mr 6 (6)
Round 2: (sc 2, inc) x2 (8)
Round 3: sc around (8)
Change color to Color C.
*TIP: Crochet the slst’s in rnd 4 LOOSELY, so that you can crochet into them in the following rnd.
Round 4: [BLO: slst around] (8)
Round 5: [BLO: sc around] (8)
Round 6: (sc 2, dec) x2 (6)
Round 7: sc around (6)
Do not stuff the arms. Pinch the final 6 sc’s flat, and make 3 sc’s through both sides of rnd 7. FO and leave a long tail to sew with later. Set aside.
Leg 1
Use Color A and crochet in continuous rounds.
Round 1: mr 12 (12)
Round 2: [BLO: sc around] (12)
Round 3: sc around (12)
FO, leaving a long tail to sew with later. Set aside.
Leg 2
Use Color A and crochet in continuous rounds.
Round 1: mr 12 (12)
Round 2: [BLO: sc around] (12)
Round 3: sc around (12)
DO NOT FO. Continue onto the body section, where you will be connecting both of the legs for rnd 4.
Body
Continue with the same yarn tail from leg 2, and crochet in continuous rounds.
Round 4: [insert your hook into the first st of rnd 3 of leg 1] sc 12 around leg 1, sc 12 around leg 2 (24)
*TIP: Attaching the legs this way will leave a gap between the legs. Use the yarn tail from leg 1 to sew the gap shut. Continue onto rnd 5.
Round 5: (sc 3, inc) x6 (30)
Round 6: sc 2, inc, (sc 4, inc) x5, sc 2 (36)
Round 7-8: sc around (36) 2 ROUNDS
Round 9: sc 2, dec, (sc 4, dec) x5, sc 2 (30)
Change color to Color C.
*TIP: Crochet the slst’s in rnd 10 LOOSELY, so that you can crochet into them in the following rnd.
Round 10: [BLO: slst around] (30)
Round 11: [BLO: sc around] (30)
Round 12: sc around (30)
Round 13: (sc 3, dec) x6 (24)
Round 14: sc, dec, (sc 2, dec) x5, sc (18)
Make a slst & FO, leaving a long tail for sewing. Stuff the body and set aside.
Head
Use Color A and crochet in continuous rounds.
Round 1: mr 12 (12)
Round 2: (sc, inc) x6 (18)
Round 3: sc, inc, (sc 2, inc) x5, sc (24)
Round 4: (sc 3, inc) x6 (30)
Round 5: sc 2, inc, (sc 4, inc) x5, sc 2 (36)
Round 6-12: sc around (36) 7 ROUNDS
Round 13: [FLO: sc, inc, (sc 2, inc) x11, sc] (48)
Round 14: sc around (48)
Round 15: sc 2, dec, (sc 4, dec) x7, sc (40)
Round 16: (sc 3, dec) x8 (32)
Round 17: sc, dec, (sc 2, dec) x7, sc (24)
Round 18: (sc, dec) x8 (16)
Add two 14mm safety eyes between rnds 12-13, with about 5 visible sts in-between. Start stuffing the head, and continue stuffing as you go.


Round 19: dec x8 (8)
Make 2 additional dec sts, leaving you with 6 sts. Close up the head by sewing it shut. FO, leaving a long tail to weave/tuck in. Set aside.
Ears
Use Color B and crochet in continuous rounds. Make 2.
Round 1: mr 6 (6)
Round 2: (sc 2, inc) x2 (8)
Round 3: sc around (8)
Round 4: (sc 2, dec) x2 (6)
Round 5-6: sc around (6) 2 ROUNDS
Round 7: (sc, dec) x2 (4)
Do not stuff the ears. Pinch the final 4 sc’s flat, and make 2 sc’s through both sides of rnd 7. FO and leave a long tail to sew with later. Set aside.
Tail
Start with Color B and crochet in continuous rounds.
Round 1: mr 4 (4)
Round 2: inc x4 (8)
Change color to Color A.
Round 3: sc around (8)
Round 4: (sc 2, dec) x2 (6)
Round 5: sc around (6)
Round 6: (sc, dec) x2 (4)
Do not stuff the tail. Pinch the final 4 sc’s flat, and make 2 sc’s through both sides of rnd 6. FO and leave a long tail to sew with later. Set aside.
Assembly
Step 1: Sew the 2 arms onto the sides of the body between rnds 13-14. Ensure they are parallel with the legs.


Step 2: Sew the tail onto the back-center of the body between rnds 9-10.

Step 3: Sew the body onto the head, making sure it’s centered.

Step 4: Sew the ears onto the sides of the head between rnds 5-6, parallel to the arms.


Step 5: Add the 3 tufts of hair at the top of the head using Color B. To do this, follow the steps below.


Step 6: Using black worsted weight yarn, embroider the nose between rnds 13-14. Make the nose about 2 sts in length, and make as many layers of the embroidery as you see fit - I make about 4-5 layers of embroidery.

Step 7: Use Color D to embroider the blush underneath the eyes between rnds 14-15. Make about 2 layers of the blush and make it about 2 sts in length.

* CONGRATS *
You're Finished!
* CONGRATS * You're Finished!
I hope you enjoyed crocheting Pochacco with me! If you have any questions, feel free to email me at crochetbykittengrll@yahoo.com. I am more than happy to help!
I would love to see your finished creations! Feel free to tag me in your posts so I can see (@crochetbykittengrll on TikTok/Insta/YouTube/Pinterest)! Or follow me to keep up with any future patterns!
The best way to support me, and allow me to release more free patterns is to follow me on my socials and if you recreate this design, to tag me!